Marking Gauge vs Marking Knife vs Pencil: Three Tools, Three Jobs
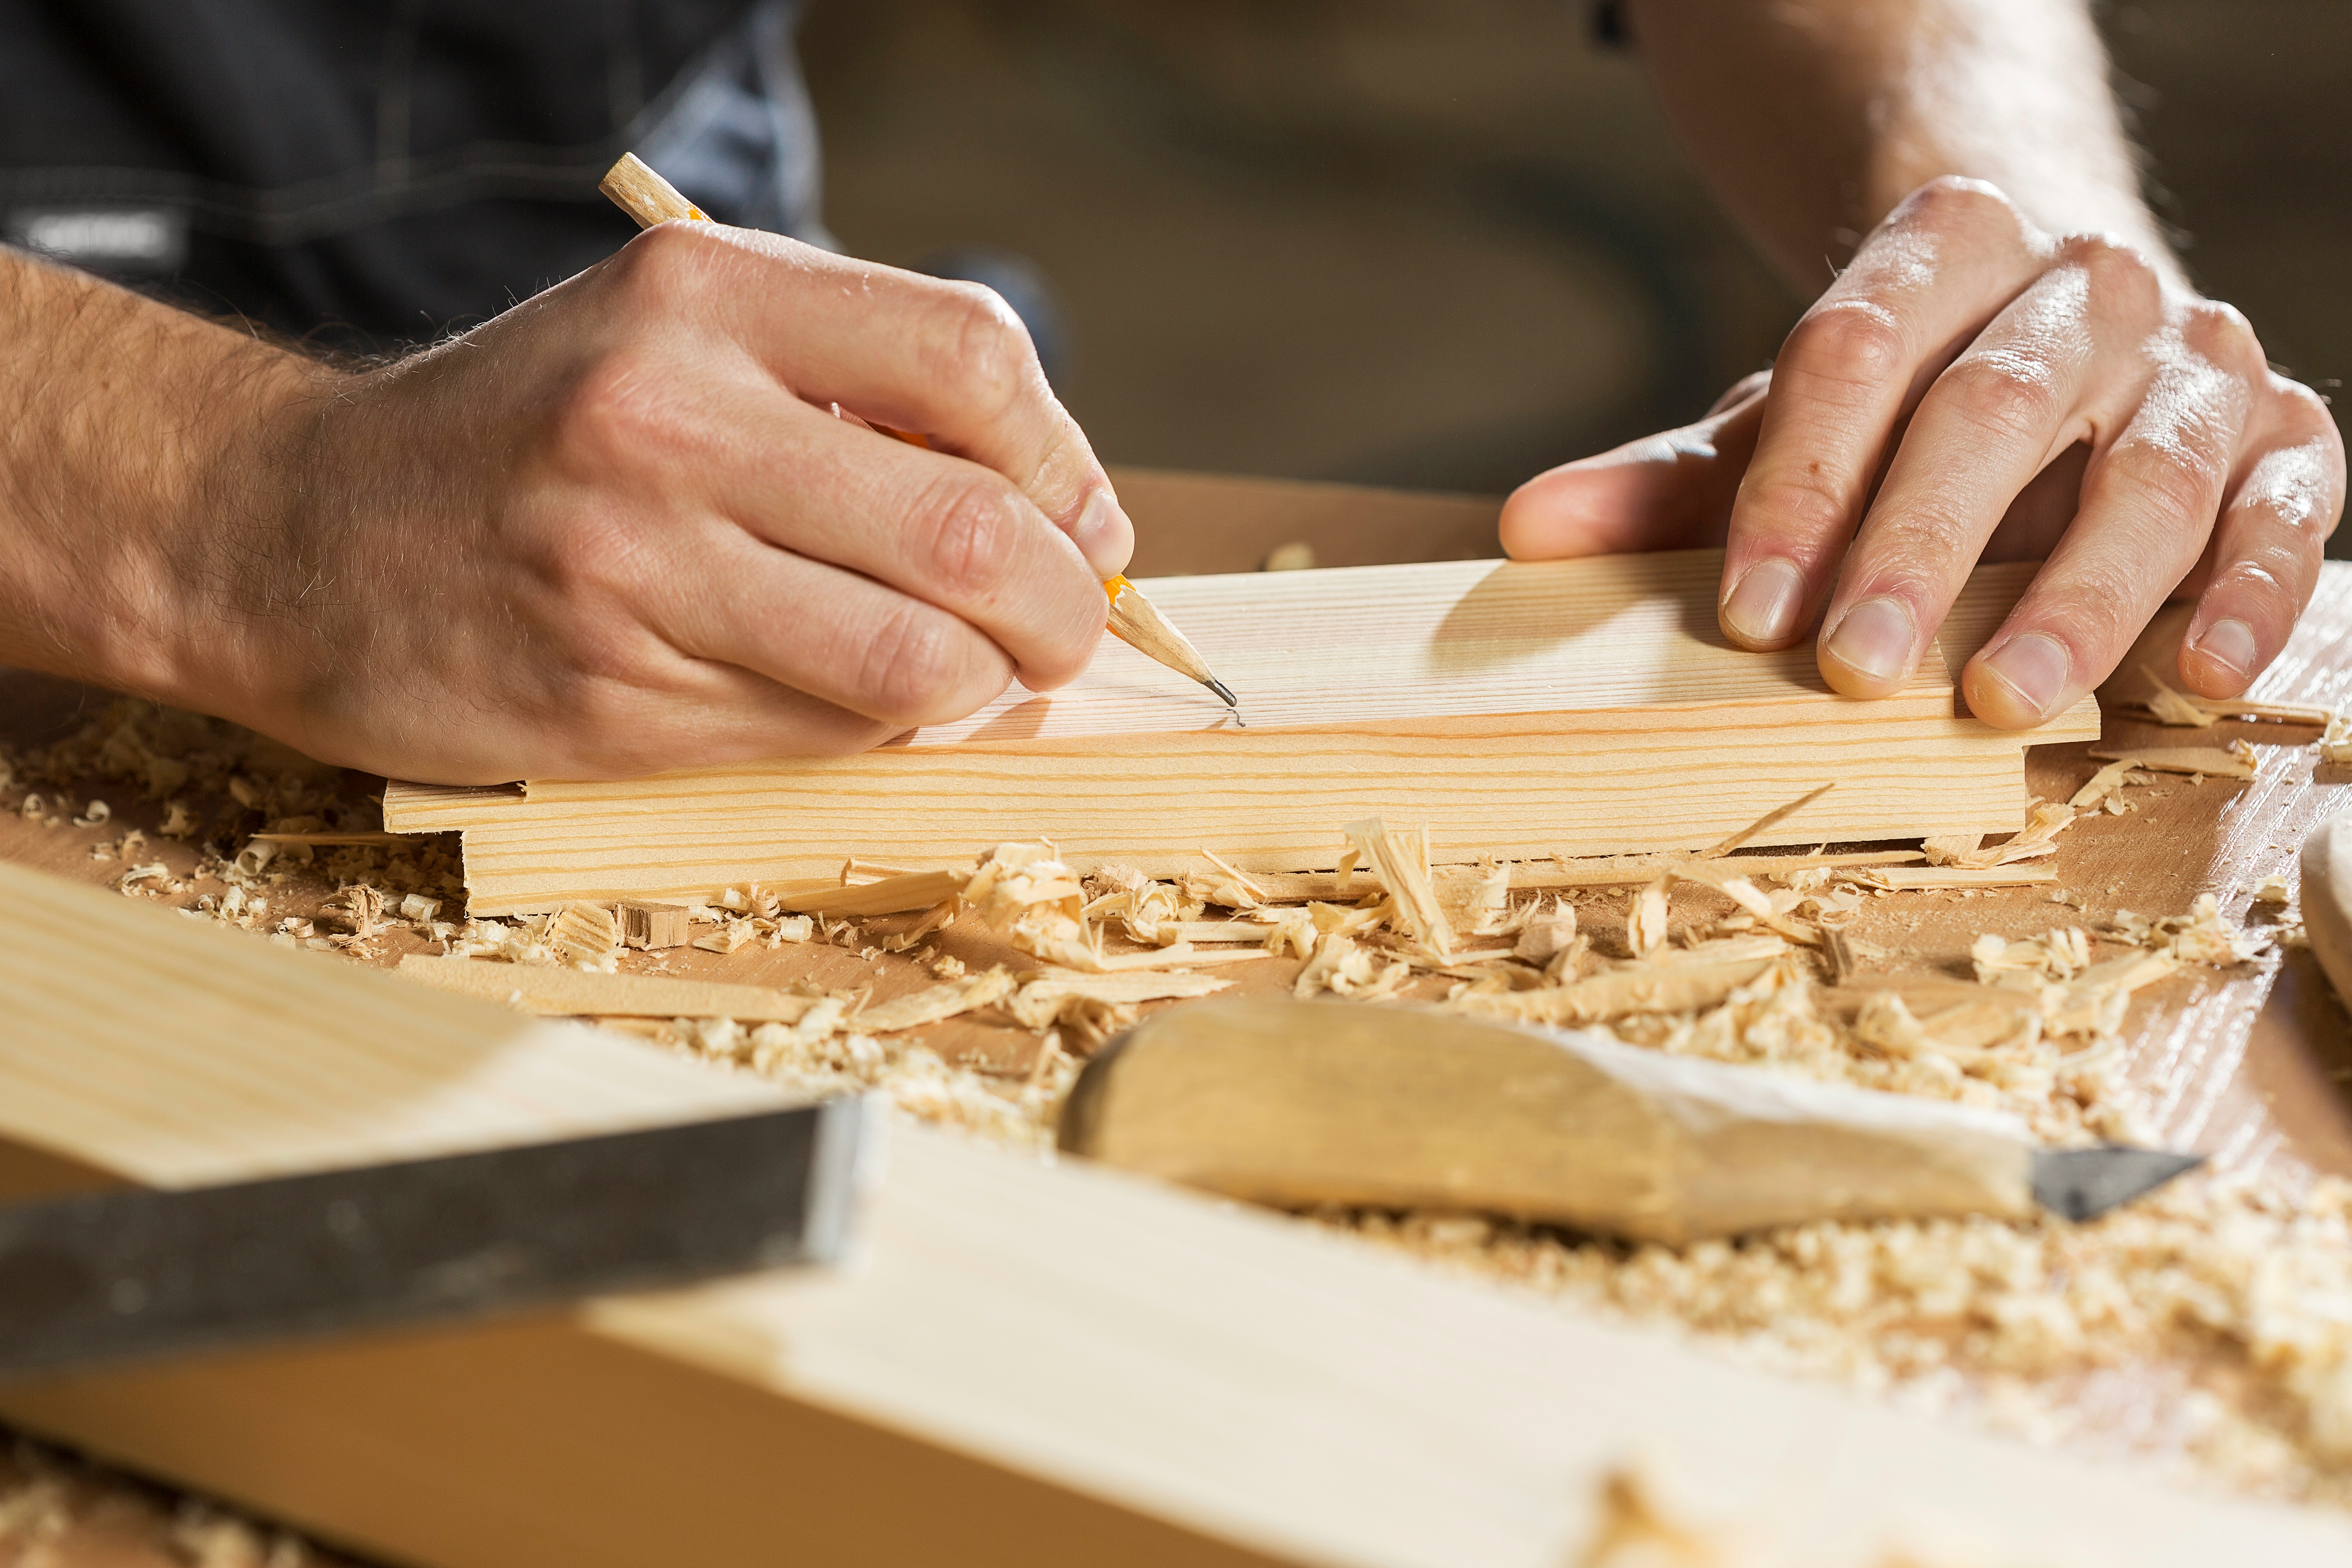
Three tools sit on the bench next to a half-milled board. A marking gauge. A marking knife. A pencil. Watch a furniture maker work through a project and all three appear in sequence - pencil first, gauge second, knife last. The sequence isn't habit. It maps to what each tool actually does to wood fibers, and why that matters at different stages of building.
A pencil leaves graphite on the surface - visible, erasable, temporary. A knife cuts into the fibers, creating a valley your chisel registers against. A gauge rides a fence along the board edge, maintaining mechanical parallelism without human estimation. Three different physical interactions with the same material, each suited to a different phase of work.
The Pencil: Visible, Erasable, Imprecise
Pencil marking dominates rough layout. Breaking down lumber, marking cut locations on framing members, noting which face goes where - pencils handle it without ceremony. Mark the wrong spot and correct it without leaving evidence. The marks show clearly on most woods and read at a glance during assembly.
For curved lines, irregular shapes, and freehand work, pencils remain irreplaceable. You can't run a marking gauge along a curve, and a knife needs a straightedge for accuracy. Pencils follow whatever path your hand traces.
The limitation shows up at precision. A pencil line runs 0.5mm to 1mm wide depending on sharpness and pressure. That width creates ambiguity. Cutting to the line, splitting the line, staying proud of the line - you're always making a judgment call. Across several operations, those judgment calls compound. Measure and pencil-mark both sides of a joint and the finished result could be nearly a millimeter off from intended dimensions.
Graphite also smears with handling, fades in humidity, and absorbs into open grain creating fuzzy boundaries. And pencil marks that survive into finishing show as gray smudges under clear coats. They need to be sanded away before finish goes on - which means they need to be in locations that will get sanded.
The Knife: Permanent, Precise, Demanding
A marking knife severs wood fibers at the surface. The blade creates a valley perhaps 0.1mm wide - genuine precision rather than the fuzzy guidance of pencil marks. When you place a chisel into that knife line, the tool has a natural tendency to stay there. The severed fibers create mechanical registration that pencil marks never achieve.
The cut itself prevents tearout. Sawing or planing up to a knife line means approaching fibers that have already been severed. The tool can't tear those fibers beyond the line because they're no longer connected to the surrounding wood. For cuts where edge quality matters - tenon shoulders, dovetail baselines - this characteristic proves essential.
Knife lines stay put. Handle the workpiece, set it aside for weeks, get it damp during glue-up - the line remains exactly where scored, exactly as crisp. That permanence works in both directions. Mark the wrong spot and you've cut fibers that will show as a subtle line even after sanding. The severed fibers accept stain differently than intact fibers, creating visible dark lines under finish. Knife marking demands confidence, or at least careful measuring before committing blade to wood.
The knife also requires a straightedge for precise work and an additional measuring step for each mark. Pull out a square, position it, score the line, move to the next mark. For a single line, this works fine. For thirty identical marks across thirty pieces, it's slow and introduces cumulative variation.
The Gauge: Mechanical Certainty, One Direction
The marking gauge solves the problem the other two can't: consistent parallel offset from a reference edge across multiple pieces without measuring each one. Set the fence once, mark fifty boards, and every line lands at exactly the same distance from the edge. No ruler. No measuring. The tool geometry handles it.
This eliminates cumulative error. When you measure and mark each piece individually, small variations accumulate. Thirty pieces measured separately might show marks varying by several sixty-fourths across the batch. A gauge set once marks all thirty to the same dimension because the fence-to-point relationship is mechanical, not estimated.
The gauge line itself carries the character of whatever implement it uses - pin gauges create fine knife-like lines, wheel gauges produce slightly wider sliced channels. Either way, the line scores into the wood like a knife line rather than sitting on the surface like pencil graphite. Chisels register against gauge lines the same way they register against knife lines.
The limitation: gauges only make lines parallel to an edge. If you need a line that's not parallel, or if the reference edge isn't straight, the gauge can't help. It also requires setup time - adjusting the fence, locking it, maybe a test mark on scrap. For a single mark, this overhead makes a gauge slower than just measuring and marking with a knife. The gauge pays off on repetition.
The Sequence in Practice
Real projects use all three, and the sequence maps to the stages of work.
Consider building a table. Breaking down rough lumber starts with pencil marks - rough lengths, face orientation, grain direction notes. These marks guide initial cuts and keep track of parts. Visibility matters here, not precision.
Once stock reaches final dimensions, marking gauges establish tenon shoulder lines. Set the gauge to the leg's width and mark all four rails identically. The mechanical consistency ensures every rail ends up the same length after cutting. Gauges also mark tenon thickness - mortise gauges with twin pins score both cheek lines in a single pass.
Then marking knives define the actual joint cuts. A knife scored against a square creates the crisp reference line where the saw will cut tenon shoulders. The chisel registers against those knife lines when paring the joint to final fit. The severed fibers prevent tearout at the shoulder.
Assembly marks go back to pencil. Which rail connects to which leg, which face points out, which end goes where. These marks convey information visibly and disappear under the plane or sandpaper before finishing.
The Width Problem, Honestly
Line width affects accuracy more than most people initially realize. A pencil line at 0.75mm means your saw could be off by nearly 0.4mm depending on where the kerf falls within the line. A knife line at 0.1mm provides a much clearer target. When you're marking both sides of a joint, pencil uncertainty on each side compounds - the finished joint could be nearly a millimeter from intended dimensions.
This doesn't mean pencils are wrong. Rough work tolerates wide lines. Assembly marks benefit from visible lines. The point is matching the marking method to the required accuracy rather than using one tool for everything.
Gauges inherit the character of their implement. Pin gauges create lines comparable to marking knives in width. Wheel gauges make slightly wider marks but still narrower than pencil lines. Some gauges accept pencils as the marking implement - gauge repeatability with pencil visibility, trading precision for readability.
Edge Quality Dictates Tool Choice
The reference edge quality determines which marking method works. Pencils tolerate rough edges. Mark against a fresh saw cut and the line wobbles slightly but generally follows intent.
Gauges demand better edges. The fence needs a consistent surface to ride against. Rough saw marks cause the gauge to track inconsistently, producing wavy lines that defeat the purpose. If a gauge is going into use, that reference edge needs to be planed or jointed smooth first.
Knives fall between - they don't need mechanical registration against the workpiece edge, but they benefit from straight edges to guide the blade. A straightedge clamped to rough stock lets you make accurate knife lines even when the stock itself isn't perfect.
This creates a natural progression through milling stages. Pencil marks guide rough cuts. After planing edges straight, gauges establish parallel reference lines. Knife marks define final joinery cuts against a square. Each tool enters the workflow when conditions suit it and steps back when they don't.
What Shows Through Finish
Pencil marks show as gray smudges under clear finishes if they survive into the finishing stage. They sand away because the graphite sits on the surface, not in the fibers.
Knife and gauge lines tell a different story. Severed fibers accept stain differently than intact fibers, creating visible dark lines under clear coats. The scribed line becomes a permanent feature of the wood surface. Traditional joinery places all knife work in locations that get cut away during assembly - the layout marks vanish with the waste wood. Marks that survive into the finished piece carry the ghost of the building process in the grain.
The three tools trace a progression through the building process itself. Pencils dominate the early stages where visibility matters and precision doesn't. Gauges take over when parallel lines need mechanical certainty. Knives finish the sequence at the joinery cuts where severed fibers prevent tearout and provide chisel registration. The tools are simple. The sequence they follow through a project - that's where the accumulated judgment of centuries of woodworking lives.