Why Marking Gauge Lines Wander, Tear, and Disappear
A marking gauge is one of the simplest tools in woodworking. A beam, a fence, a point. Set the distance, press the fence against the wood, drag it along. The point scribes a line. That's it. There is almost nothing to this tool.
And yet the lines it produces can be beautiful - thin, precise, exactly where they need to be - or they can look like a cat tried to write in cursive. Wandering. Tearing. Diving deep in one spot and vanishing in another. On the same board. In the same pass.
The marking gauge gets blamed. The wood gets blamed. Hands get blamed. But the actual cause is almost always a collision between tool geometry, wood structure, and the reference surface that nobody checked before they started scribing.
What the Point Is Doing to the Wood
A marking gauge pin or wheel doesn't cut wood the way a knife does. A knife severs fibers by pressing a thin wedge between them. A marking gauge pin tears through fibers by dragging a point across them. The distinction matters because these two actions interact with wood grain in fundamentally different ways.
When the pin drags across straight grain perpendicular to the fibers, it snaps them cleanly. Each fiber breaks at the point of contact, the pin moves on, the line is clean and consistent. This is the marking gauge at its best - a tool perfectly suited to its task, producing a scribed line that serves as both a visual reference and a physical groove for chisels and saws to register in.
When the pin encounters grain that's angled relative to the scribing direction, the physics change entirely. Instead of snapping fibers at the point of contact, the pin gets between fibers and follows the grain angle. The point wanders off the intended line because the wood structure is steering it. The path of least resistance isn't the intended line - it's the fiber direction.
This is why the same marking gauge produces perfect lines on one face of a board and ragged, wandering lines on the other. The grain angle relative to the surface reverses when you flip the board. One direction presents fibers that break cleanly. The other direction presents fibers that guide the pin sideways.
The Reference Edge Problem
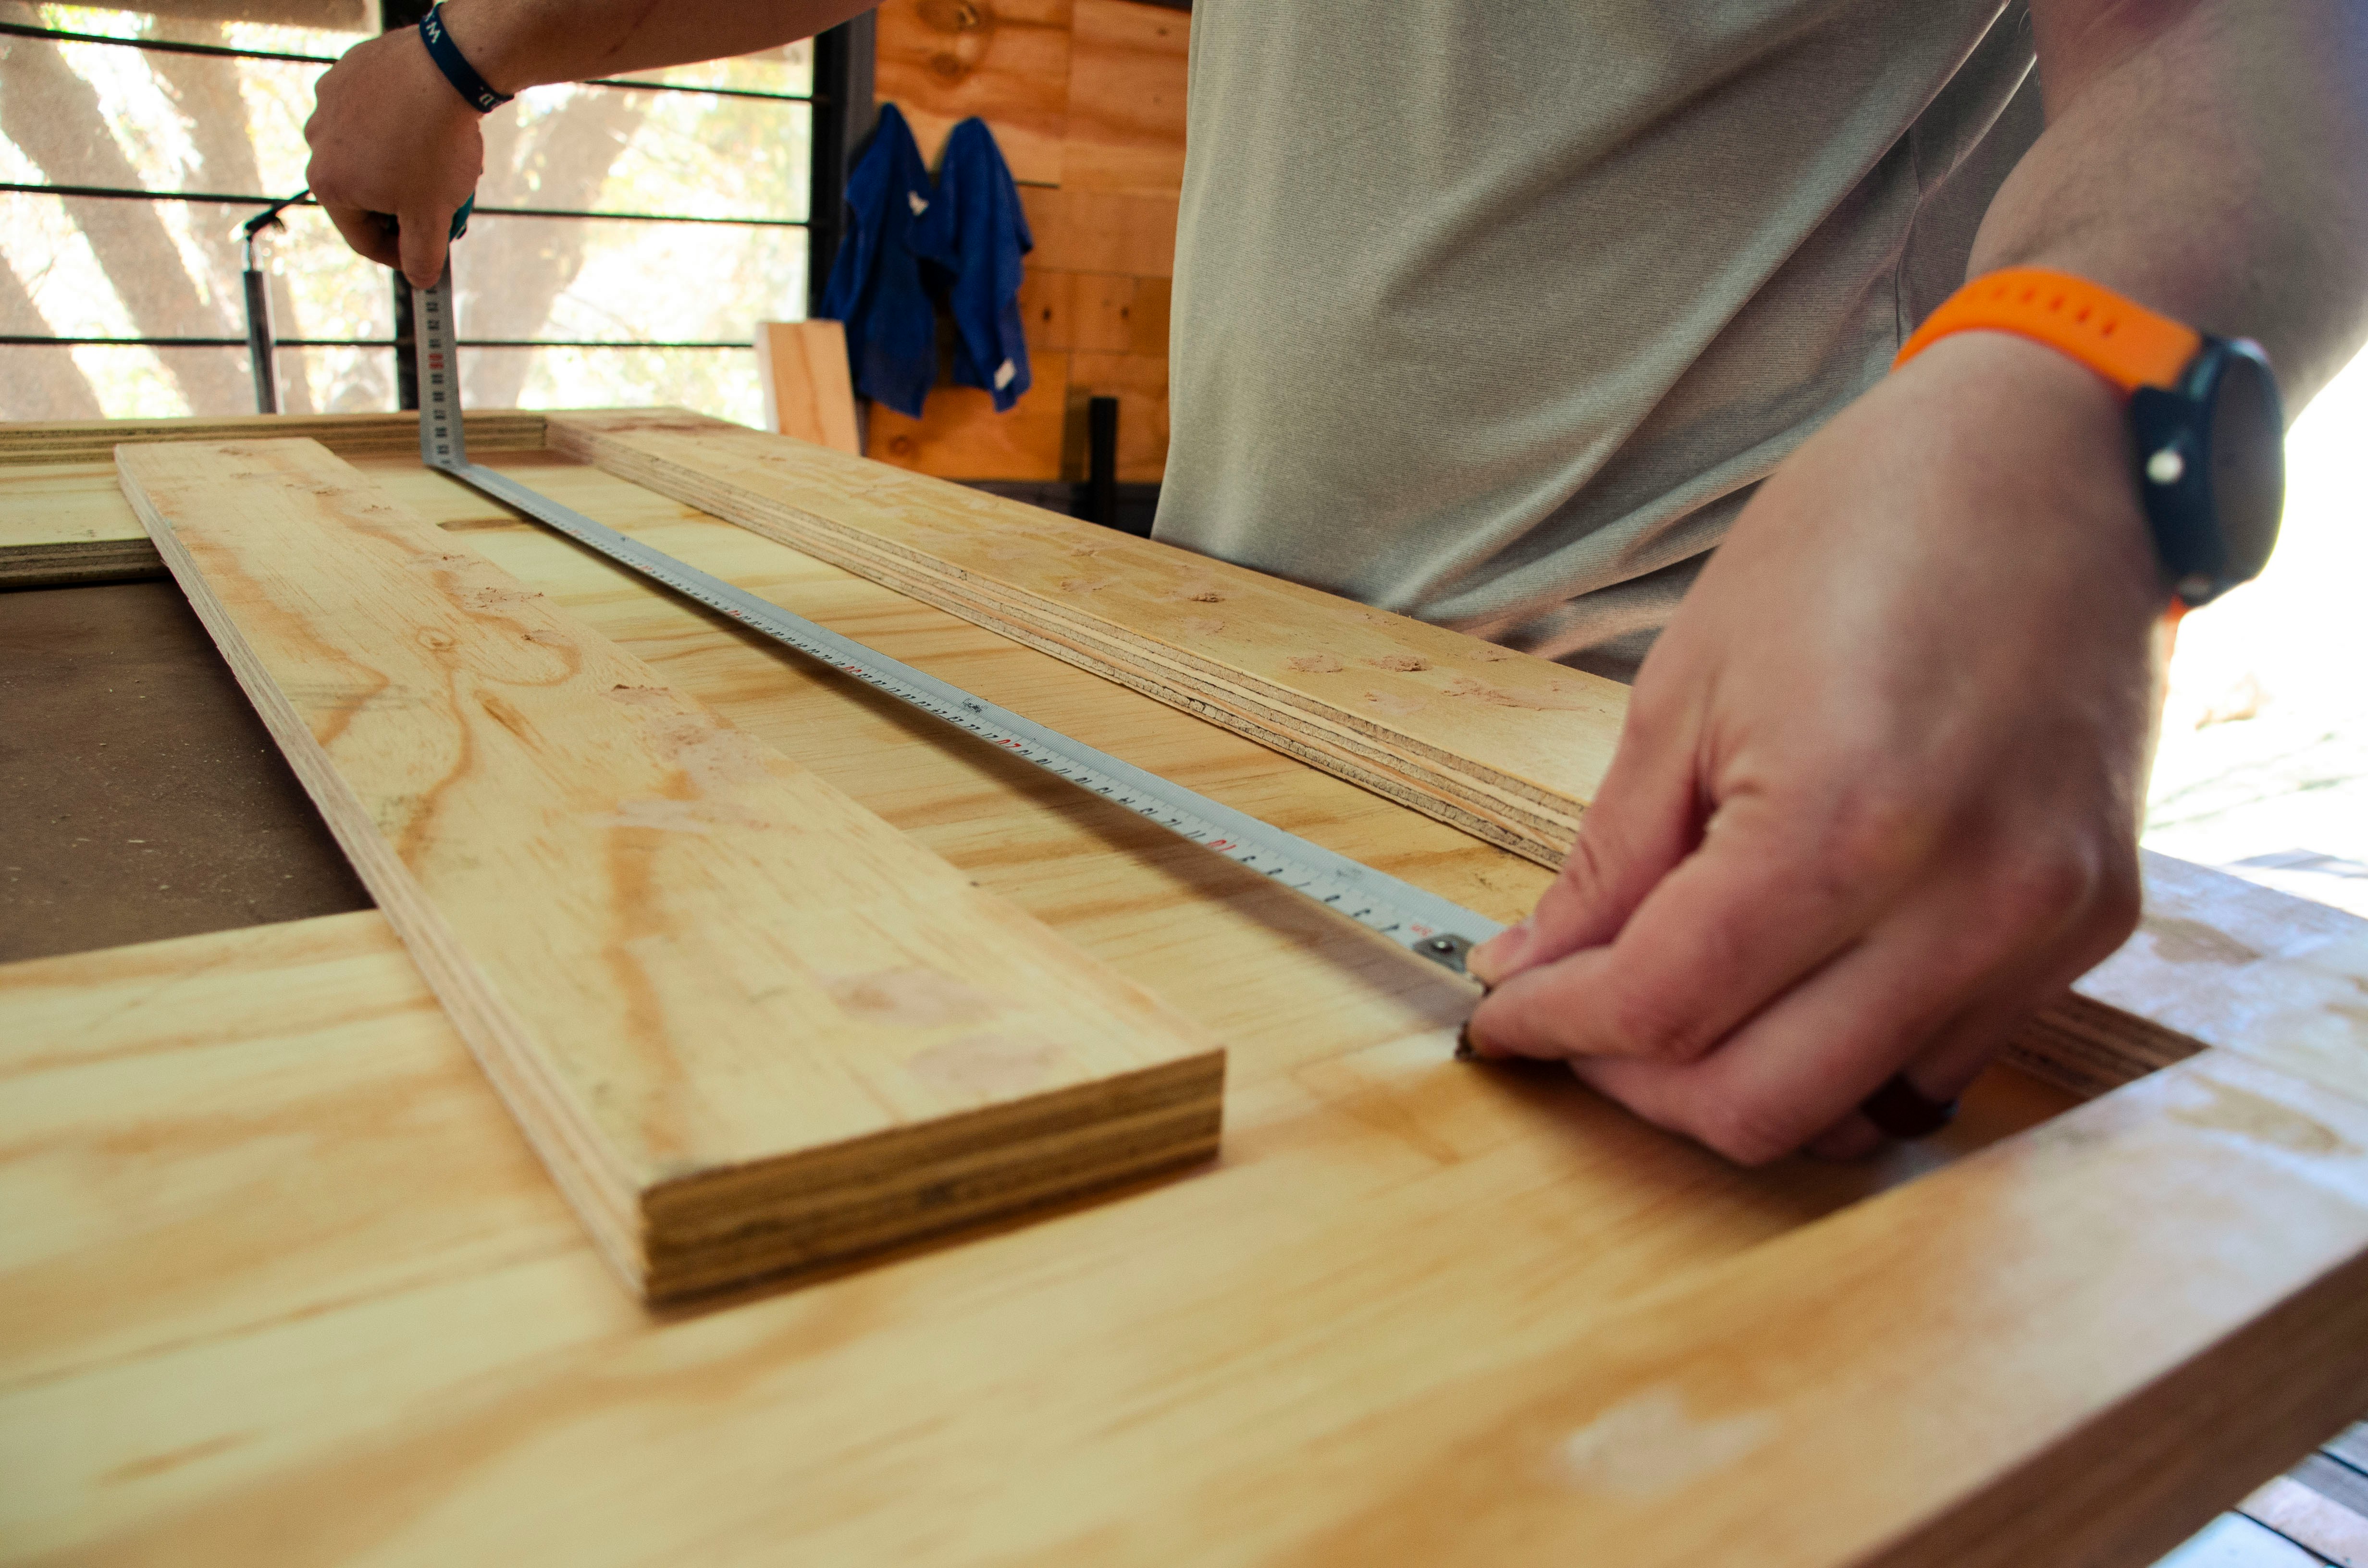
A marking gauge's fence rides against the edge of the board. The fence is the reference. Every variation in that edge transfers directly to the scribed line. If the edge is straight, the line is straight. If the edge curves, the line curves. If the edge has bumps, the line has bumps.
This sounds obvious until you consider how many marking gauge "failures" are actually reference edge failures. A board whose edge was ripped on a table saw and never jointed has saw marks - tiny ridges from the blade teeth. The marking gauge fence rides over these ridges, bouncing slightly with each one. The line develops a subtle waviness that looks like technique error but is actually geometry being faithfully reproduced.
A board whose edge was jointed but has a slight crown (higher in the middle than at the ends) produces a line that's farther from the edge in the center than at the ends. The gauge setting didn't change. The board changed under the fence.
Cupped boards present a particularly deceptive problem. If the face is cupped - higher at the edges than the center - the point contacts the wood at an angle that changes as the gauge travels along the board. At the edges where the surface is higher, the point digs deeper. In the center where the surface is lower, it barely scratches. The line appears to be inconsistent in depth, which gets interpreted as inconsistent technique.
The fix for all of these issues is the same: the reference edge needs to be straight and the board face needs to be flat before the marking gauge touches either one. The marking gauge doesn't create accuracy. It reproduces whatever accuracy (or inaccuracy) exists in the reference surface.
What Happens at Different Grain Angles
Oak - with its dramatic ray structure and pronounced growth rings - is one of the worst species for marking gauge work. The hard latewood and soft earlywood within each growth ring create alternating zones of resistance. The pin catches and releases as it crosses ring boundaries, producing a line that stutters. On quartersawn oak, the rays running perpendicular to the surface create additional deflection zones where the pin finds paths between the ray cells rather than cutting through them.
Cherry, by contrast, is one of the best. Relatively uniform density across growth rings. Fine, even texture. Minimal ray structure. The pin encounters consistent resistance throughout the stroke, producing lines that look machine-made.
Maple falls somewhere between - hard, consistent, but the density itself is a factor. The pin needs more pressure to scribe a visible line, and increased pressure increases the tendency for the pin to follow grain deviations rather than override them.
Figured wood - curly maple, quilted mahogany, anything with interlocked grain - is where marking gauges face their most challenging physics. The grain direction in figured wood reverses every few millimeters. The pin finds a new preferred direction with each reversal, producing a line that zigzags microscopically as it follows alternating grain angles. The line is technically scribed at the correct location, but it looks rough because the surface of the groove is serrated by the changing grain.
Pin Shape and Sharpness
The geometry of the marking gauge pin determines how aggressively it interacts with grain. A conical point - sharpened like a pencil tip - concentrates all the scribing force at a tiny area. This makes the pin more susceptible to grain steering because the contact area is too small to override the wood's grain structure. The pin goes where the wood sends it.
A knife-edge pin - ground flat on one side like a tiny knife blade, with the flat facing the fence - resists grain steering because the flat face registers against the scribed wall and prevents lateral deflection. This is why many marking gauges use knife-edge pins rather than conical points. The geometry isn't preference. It's physics.
Wheel-type marking gauges use a rotating disc instead of a fixed pin. The wheel slices fibers rather than tearing them, producing cleaner lines in figured grain because the cutting action is fundamentally different. The trade-off is precision - the wheel's rotation can create a slightly wider line than a sharp pin, and the rolling contact doesn't register as precisely in a groove as a dragged point.
Sharpness affects everything. A dull pin or wheel doesn't cut or slice fibers - it crushes them. Crushed fibers spring back, making the line shallow and hard to see. The dull point requires more pressure, which magnifies grain-following tendencies. A marking gauge that produces terrible lines might not need replacement. It might need five minutes on a sharpening stone.
The Mortise Gauge Complication
Mortise gauges - marking gauges with two adjustable pins for scribing parallel lines - add a second variable: the interaction between two pins that may be contacting the wood differently.
If both pins are identically sharp and identically shaped, they track together through the wood. The two lines maintain consistent spacing because both pins respond to the grain identically. If one pin is sharper or differently shaped than the other, each pin responds to grain deviations differently. One line stays true while the other wanders. The result is two lines that are parallel in some spots and converging or diverging in others.
Setting both pins of a mortise gauge to identical projection and sharpness is fussier work than most people expect. The difference between a good mortise line and a terrible one often comes down to whether someone took the time to ensure both pins were cutting, not just one cutting and one tearing.
What Actually Produces Good Lines
The pattern across all marking gauge problems points to the same set of variables:
The reference edge is straight. Really straight, not "close enough." A jointed edge or a hand-planed edge that's been checked with a straightedge. Saw-cut edges are not references.
The board face is flat at the scribe line. Cup, twist, or bow in the board translates directly into inconsistent scribe depth. Flattening doesn't need to be perfect everywhere - just flat in the zone where the marking gauge will contact.
The pin is sharp. A sharp pin or wheel cuts fibers rather than crushing them. Less pressure is needed, which means less grain steering. The line is cleaner, thinner, and more precise.
The grain direction is understood. On faces where grain angle causes problems, the direction of scribing (toward the body versus away from the body) can change whether the pin follows or fights the grain. Sometimes reversing direction produces a dramatically better line.
The pressure is consistent. Bearing down hard at the start and easing off at the end produces a line that's deep, then shallow. Consistent moderate pressure throughout produces a consistent line.
These aren't technique tips. They're descriptions of the physics that determine line quality. The marking gauge is responding to the conditions it encounters. When those conditions are controlled, the gauge produces controlled results. When they're not, it produces whatever the wood, the reference surface, and the tool geometry negotiate between themselves.
The simplicity of a marking gauge is deceptive. The tool is simple. The interaction between that tool and a biological material with three-dimensional grain structure and variable density is not simple at all. Every marking gauge line is a recording of what happened when a shaped point met a specific piece of wood under specific conditions. Reading that recording correctly means understanding what each variable contributed to the result.